Concrete Driveway Installation: Step-by-Step Guide to a Durable and Lasting Finish
Concrete Driveway Installation: Step-by-Step Guide to a Durable and Lasting Finish
Introduction:
A well-built driveway not only enhances your home’s curb appeal but also adds functionality and long-term value. Among all options,Concrete Driveways stand out for their strength, low maintenance, and timeless design. Whether you’re replacing an old surface or starting fresh, understanding the installation process is key to achieving a durable and lasting finish. Let’s walk through each step to help you get a professional-quality driveway that lasts for years.

1. Planning and Preparation
Start by planning your driveway layout. Measure the area, determine its slope for drainage, and mark the boundaries using stakes and string. Preparing the base is essential—clear away grass, roots, and debris, then dig down about 6 to 8 inches. A solid foundation ensures your concrete won’t crack or shift over time.
2. Laying the Base
After excavation, spread a layer of crushed gravel or rock (about 4 inches thick). Compact it thoroughly to create a stable base. This layer supports the concrete and improves drainage, preventing water from pooling beneath the slab.
3. Setting the Forms
Next, install sturdy wooden or metal forms along the driveway edges. Secure them firmly with stakes and ensure they’re level. The forms act as molds that define your driveway’s shape and keep the concrete in place during pouring.
4. Reinforcement for Strength
To enhance durability, consider adding reinforcement such as rebar or wire mesh. This step reduces cracking and increases the driveway’s load-bearing capacity, especially important for heavy vehicles.
5. Mixing and Pouring the Concrete
Use a high-quality concrete mix designed for driveways. Pour the concrete evenly across the area, starting from one end and working your way down. Spread it using shovels and rakes to fill gaps, ensuring even distribution.
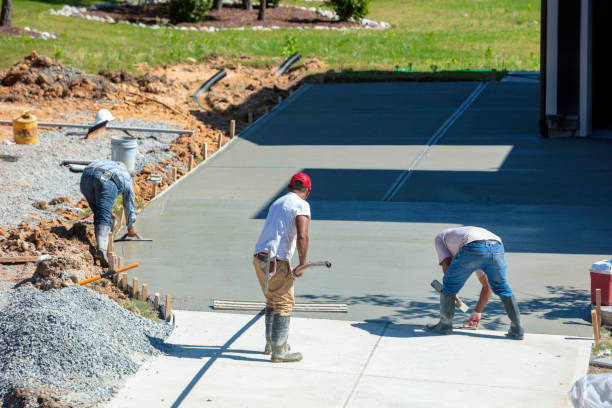
6. Leveling and Finishing
Once poured, use a screed board to level the surface, followed by a bull float to smooth it out. For added traction, consider giving the surface a broom finish. This not only looks professional but also helps prevent slipping when the surface gets wet.
7. Curing and Sealing
Proper curing is essential to prevent cracks. Cover the driveway with plastic sheeting or use a curing compound to retain moisture for at least 7 days. After curing, apply a quality concrete sealer to protect it from stains, chemicals, and weather damage.
8. Maintenance Tips for Longevity
To keep your driveway looking great, clean it regularly and reseal every 2–3 years. Avoid using de-icing salts in winter and repair small cracks early to prevent further damage.
Final Thoughts
Installing a concrete driveway requires effort and precision, but the result is well worth it—a strong, stylish, and long-lasting surface that enhances your property’s appeal. By following these steps, you’ll ensure your driveway remains a reliable and attractive feature for years to come.
