Concrete Concrete Driveway Repair: How to Fix Cracks and Restore Strength
Concrete Concrete Driveway Repair: How to Fix Cracks and Restore Strength
Introduction:
A well-builtconcrete drivewayis one of the most durable surfaces around your home, but even the strongest driveways aren’t immune to wear and tear. Over time, exposure to weather, heavy vehicles, and natural settling can cause cracks and surface damage. While proper driveway construction at the start helps ensure longevity, regular maintenance and timely repairs are key to preserving its strength and appearance. Fortunately, repairing a concrete driveway doesn’t always mean starting over — with the right approach, you can restore both its structure and smooth finish.

Understanding Why Concrete Driveways Crack
Before jumping into repairs, it’s important to know what causes the damage. Common culprits include:
Freeze-thaw cycles:Water seeps into small pores, freezes, and expands, widening cracks over time.
Heavy loads:Frequent parking of large vehicles can strain and weaken the surface.
Poor drainage:Standing water leads to erosion beneath the concrete slab.
Soil movement:Shifting ground beneath the driveway can cause uneven settling and cracking.
Identifying the root cause helps you choose the right repair strategy and prevent future damage.
Step-by-Step Guide to Repairing Concrete Driveway Cracks
1. Clean the Damaged Area
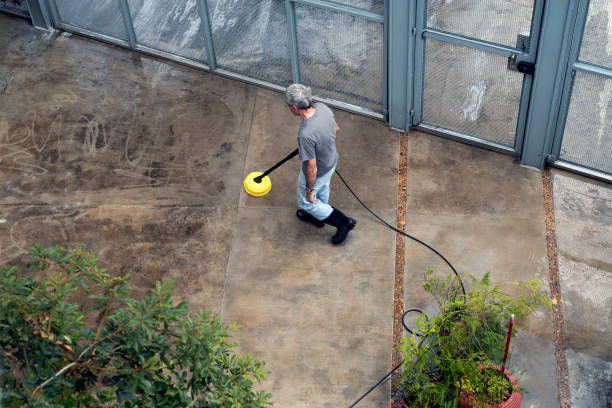
Start by removing any dirt, debris, or loose concrete from the crack. Use a pressure washer or stiff wire brush to get a clean surface for proper bonding.
2. Prepare the Crack
For small cracks (less than ½ inch wide), use a concrete crack filler or patching compound. For larger gaps, a mix of sand and patching material will help fill the void and prevent further separation.
3. Apply the Repair Compound
Use a trowel to press the compound into the crack, smoothing the surface level with the rest of the driveway. Follow the product’s instructions for drying and curing time.
4. Seal the Surface
Once the repair has set, apply a high-quality concrete sealer. This step helps protect against moisture infiltration, UV rays, and stains — all of which can shorten your driveway’s lifespan.
Restoring Strength and a Lasting Finish
After repairs, consider resurfacing your driveway for a refreshed look. Concrete resurfacer can cover minor imperfections, enhance appearance, and add a protective layer that boosts durability. For older driveways, adding a thin overlay or decorative finish can bring new life to the surface while improving traction and weather resistance.
Preventing Future Damage
To keep your concrete driveway strong and beautiful:
Clean and reseal it every 2–3 years.
Avoid deicing salts in winter, as they can erode the surface.
Ensure proper drainage to prevent pooling water.
Address small cracks before they grow larger.
Final Thoughts
Repairing a concrete driveway might seem daunting, but with the right tools and materials, you can restore its strength and smooth appearance without replacing the entire slab. By combining good initial installation practices with consistent maintenance, your driveway can stay durable and attractive for many years to come.
